> Intro
> Overview
> Fisheye
• Cube
> Light
> Filter
> Plugins
— IBL and HDRI: HDRShop, Cube —
The six Faces of a Cube
The cubical method is discussed in 3D World > Projections. Here, we will show how we have to go about it using HDRShop. Light probes for IBL can be rendered in Bryce, provided the camera is correctly set. This also works for TerraGen if the zoom of the camera is set to 1.0 and the render has a square aspect ratio. It is faster to render the six faces of a cube than to render the reflections from a mirror ball.
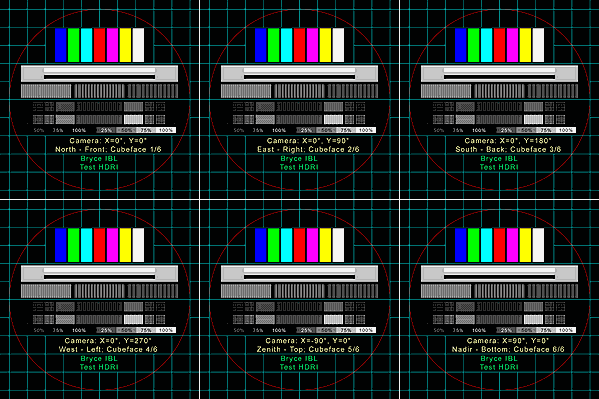
We have rendered all sides of the cube already — or drawn in Visio and scaled in PhotoImpact as in this example. The upper row from left to right, face 1 (front side, north, Y=0°), face 2 (right side, east, Y=90°) and face 3 (back side, south, Y=180°).
In the lower row from left to right face 4 (left side, west, Y=270°), face 5 (ceiling, zenith, X=-90°, Y=0°) and finally face 6 (floor, nadir, X=+90°, Y=0°).
Even though there is an option to transform six individual cube faces in HDRShop, it does not work. At least I could not make it work after extended experimenting. The cube faces have to be assembled to a vertical cross using a graphics program.
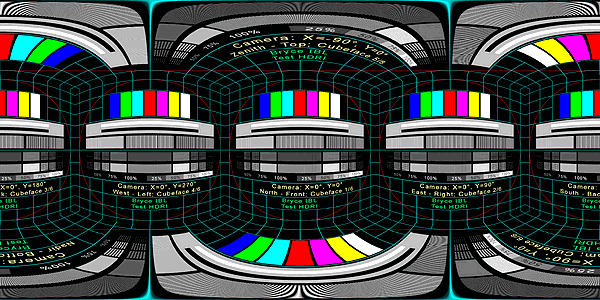
In the top row face 5, in the next one the faces 4, 1 and 2, below face 6 and at the bottom face 3 upside down. This picture can be transformed into another projection by HDRShop. Image > Panorama > Panoramic Transformations… pops up the dialog.
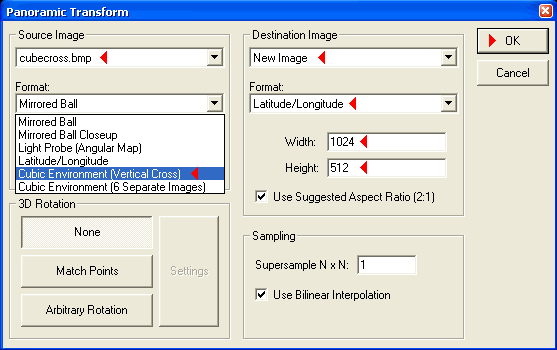
The picture is in the Cubic Environment (Vertical Cross) format. We want a New Image as Destination Image in the Latitude/Longitude projection. When the picture size has been defined it can be transformed.
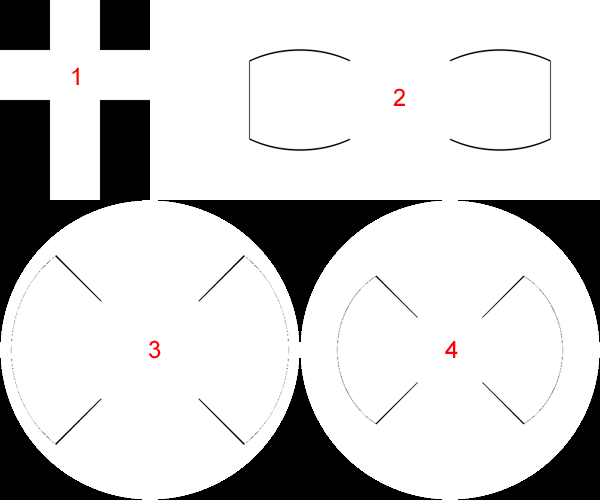
This is all very simple, except for the caveat that flaws sneak into the resulting picture. Sometimes, the seams are visible, sometimes they are not. Here, they were made visible in a very obvious way. A very small cross cube was transformed into another projection with a much larger picture size.
- 1: Six faces of an uniformly white cube assembled as a vertical cross; this is the source picture to be transformed.
- 2: The result of the transformation into the Latitude/Longitude format. This ought to be a completely white rectangle but the seams are visible.
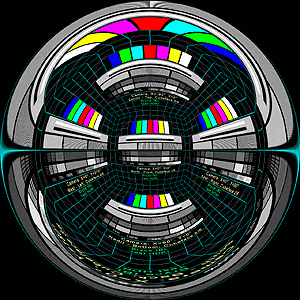
- 3: The seams are also visible in the mirror ball projection.
- 4: Even the direct transformation of the vertical cross into a
Light Probe shows the edges of the cube.
Of course, these flaws ar not that obvious as they are presented here, the contrast was boosted up very much.
How can this be avoided? If the input picture — the vertical cross — is much larger than the resulting picture after the transformation, the seams get much less noticeable. If that cannot be done, there is no other way than to open the transformed picture in a graphics program and retouching the seams manually.
Procedure
If you have a series of six cube faces ready rendered, assemble each set to a
vertical cross in a graphics application. Transform those vertical crosses with
HDRShop into the spherical projection (Latitude/Longitude) and save them as LDRI,
e.g. as BMP. Open them again in the graphics program and retouch those seams that
are visible. Of course, you could also use any other projection but I think the
spherical one shows best wat is going on. Finally, the retouched pictures are
saved again. Now you can assemble them to an HDRI using HDRShop (see IBL and
HDRI > HDRI and Gamma.)
Now, the picture can be transformed in HDRShop into a Light Probe. HDRShop also permits transforming a projection into the vertical cross format.
© 2004 - 2018 by Horo Wernli.
